MyFreeCopyright.com Registered & Protected All of my tutorials are written by me Any resemblance to any other tutorial is purely coincidental.If you feel that I have used something that is copyrighted to you or someone you know.....please let me know so that I can remove it or ask consent to use it.. Do NOT claim as your own or alter them in any way. Hotlinking is strictly prohibited. If you would like to use my tuts in your PSP groups, please use a text link only.

Thursday, December 31, 2009

Pretty Pixie!!!! :0)

Photobucket
Supplies.::: Tube...Font...And a fab PTU scrapkit by Shani at WickedPrincessScraps... HERE Called Sweet Serenity...

Open up a 700x700 image white
open up a colored background, copy and paste as new layer.
Now open up round yellow flower ring copy and paste as new layer..
Next open up Butterfly ring circle, copy and paste as new layer..
Now open starcomet, copy and paste as new layer..
Next open up yellow blossom, duplicate these 4 times and copy and paste as a new layer.. arrange them to your liking..
Open up Piano keys copy and paste, and position to your liking..look at my tag as reference.
Now open up small star cluster duplicate 2 times and paste as a new layer on your tag. paste to your liking.:)
Next open up SS Pixie dusts duplicate 2 times and copy and paste as a new layer..
Now open up glass ball dangel copy and paste as new layer, put this at the top of the tag..
Next open up glitter rain copy and paste as new layer, put near the top of tag. look to my tag as reference..
Now open up the little serenity poser girl and paste as new layer, put a dropshadow around her..
Add youe text and your copyrights, and you are all done.. Hope you have enjoyed my tutorial...:0)

Let's Rock


Supplies Needed: Tube ..Font....Awesome PTU scrapkit by HeartBeatz Creationz HERE called So What.....
Lets begin... Open up a 600x600 image transparent..
Next open up a pink background, copy and paste as new layer.
Next open up on of the girl posers, copy and paste as new layer..
Add a nice dropshadow to it..
Open up one of the motorcycle tubes,copy paste as a new layer...Add a dropshadow..
Now open up the sign that says ROCK on it. Copy and paste as a new layer.
Next open up your black belt tube, position it, in the middle of the paper, look to my tag as reference..
Now open up your big pink and black fluffy bow, resize to make smaller, and position it down on the bottom right.. add dropshadow...
Next open your flower tube, resize to make smaller, and also paste this down on the right hand side. Look to my tag as reference....
Now find the rock out pick and resize to smaller, add dropshadow, resize to smaller,paste as new layer on top of the flowers down on the right side...
Open up your corset tube and paste as newl layer, to the right of the poser girl, add a dropshadow...
Now add your font and any copyrights... and you are done.. :)

Sunday, December 27, 2009


My first award.....lol... I'm soooo excited....Thankies Cari your the best.....


Many thanks to Cari at "Black Widow Creations"for nominating me for this Award!
Be sure to check out her blog...she has some great scrap kits.
The rules are very simple:
Put the name and link of who gave you this award on your blog.Then pass it on to 5 blogs which you think are AWESOME.
1.Bev::Horseplaypastures
2.Shani:: WickedPrincessScraps
3. Seven:::Sevens scraps
4. Chassity:::Polka Dot Scraps
5. Tracy::FreebieFriendsScrapsandMore

Thursday, December 24, 2009

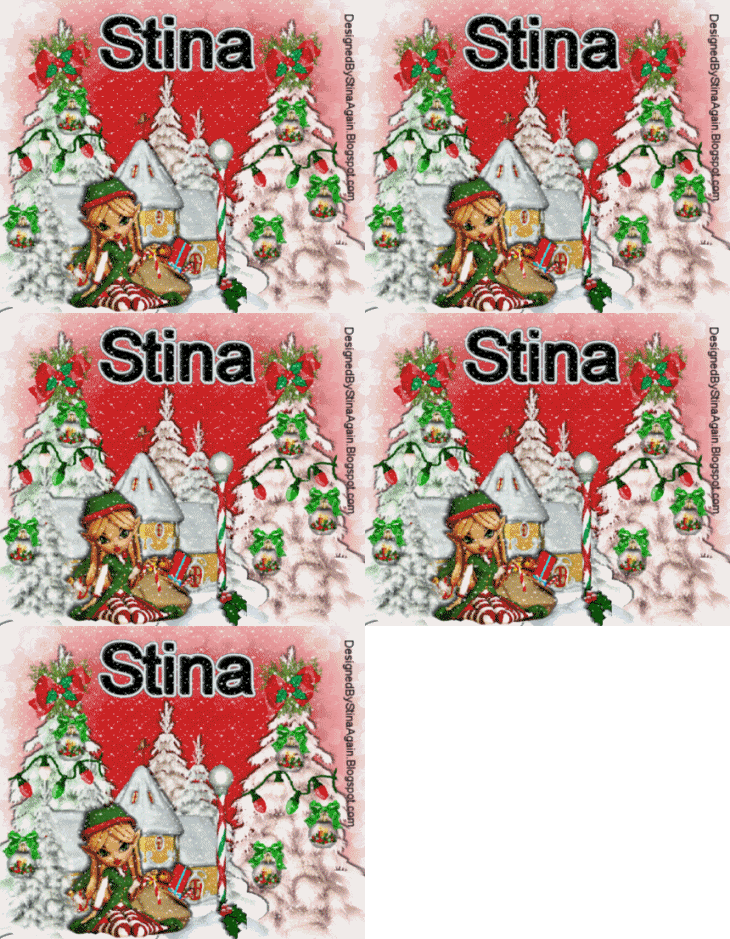
Candy Cane Lane.....

Photobucket

I had a lot of fun with this tutorial..:)hehe.. There's loads you can do with it.. Everything I used is from a Ptu Scrap kit by STINA called Lil Miss Candee Cane, and you can find it HERE
Use any kind of mask... And the snow animation I don't know who made it, so if it was you PLEASE tell me, and I will put the proper credits on it.. :) Find the snow animation HERE

Open a new image 700x700 white.
Okies lets begin open up red paper DBS_paper 26
paste as a new layer.
Apply mask layer at this time....
Next open up DB_ snow scene 1 copy and paste it as a new layer.. I resized my trees by %75..to get them a little smaller looking. Put a nice little dropshadow on the trees, to make them stand out more.
Now open up DBS_ House 1, copy and paste it in front of the trees, resize it down to %75 or so.
Put a nice little dropshadow on it.
Now open DBS_candy pole1... Copy and paste it as a new layer. look at my tag for reference, put it just to the right of the little house in the front.
Next open up DBS_Cookie02 the little girl elf, resize her down to about %70 or whatever size you think looks best on the tag...:) Put a nice little dropshadow on her...
Okies now look for DBS_Lights, resize them down again making them smaller to a size you like...Copy and paste them on the tree that's on the left side.. Now I only pasted one set of lights on each tree... Add a little dropshadow, and do the same exact thing for the tree on the right.
Next open up DBS_ornament 03, resize it down to about %55, copy and paste as new layers one the two trees, the one to the right and the one to the left. place as many as you would like, and look at my tag for positioning..
Now open DBS_Holly with Mistletoe01 resize it down to around %55 or so, copy and paste it on the top of the left hand tree, now do the same exact step for the right sided tree...

::::Now for the snow animation::::

Open up Animation Shop:
open up your snow animation in animation shop..
Go back into psp click on your top layer on your tag , go up to edit copy merged, Now back into animation shop, and paste as new animation..
This Animation snow has 5 frames to it, so duplicate your tag frame layers in animation shop 5 times.
Next click on the first frame of the animated snow, go up to select all copy,
Now click on the first frame of your tag, click on select all paste as new animation.
And thats it.. Resize tag if needed, and save..

Friday, December 18, 2009

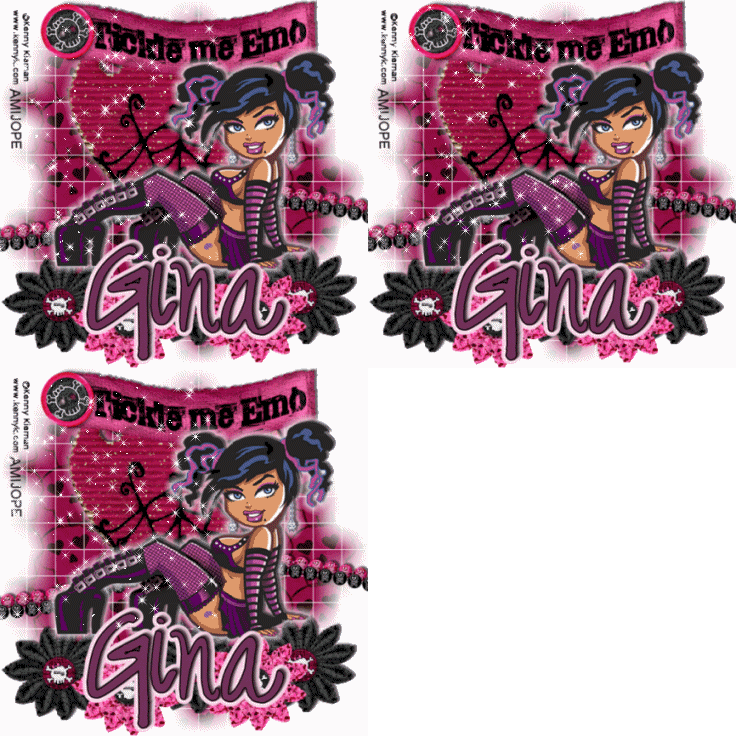
All Gothed up...

Photobucket

Supplies::Tube, font, and an Awesome PTU scrapkit by Gina((KiKeka Scraps)) called Tickle Me Emo HERE

Open a 600x600 image background transparent.
Open up your scrap kit and look for one of the background,copy and paste as a new layer...
Now open your pink and black flowers, paste them as new layers.. Place them at the bottom of the tag... Add a nice dropshadow to them..Now open up your pink and white jewelry beads, copy and paste them to your liking... Look at my tag as a reference....
Next open up one of the "Tickle me Emo" flags/banners, I used the pink one..
Copy and paste as new layer at the top of your tag...:)
Now find one of your pink hearts with the little spider web, and spider on it...From the kit..
Copy and paste as new layer, add a nice little dropshadow to it..
Next add your tube ,paste as new layer, now you may use the cute little poser girl tubes, that are in the kit... :) I just chose my own tube... heheh..
Adda nice dropshadow to it...
Now lastly add your font, and all copyrights.. and your done..
>>>>> I can't supply the animated stars in my tag, because I don't know who created them....But feel free to use any star animation..<<<<<<

Tuesday, December 15, 2009

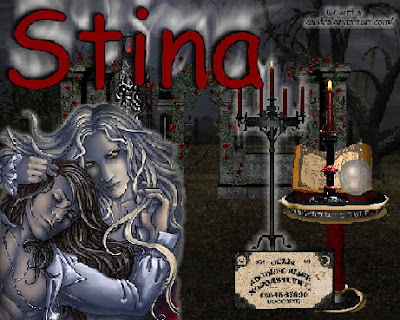
Medevil Ways...


Supplies... Tube , Font and A fabulous PTU scrapkit by CJ'S Dream HERE called Gothic Moon

open up and image 600x600 transparent.
open up one of the backgrounds copy and paste as new layer.
Open up the gate with the wall copy and paste as a new layer.
Now find your candle stick holder the large one,and paste as a new layer to the right of the gate.
Next open up the table put it to where you like... Copy and paste it.
OPen the book and the magic ball and copy and paste them on to the table.
Next open up the ouija board, copy and pasteit below the table more towards the left.
Now find your candle stick your small one, and copy and paste it onto the table.
Next paste your tube....Now the text and copyrights on your tags.
And thats it your're done... Easy peasy... Just use my tag as a reference where to place everything.But use your imagination....:)

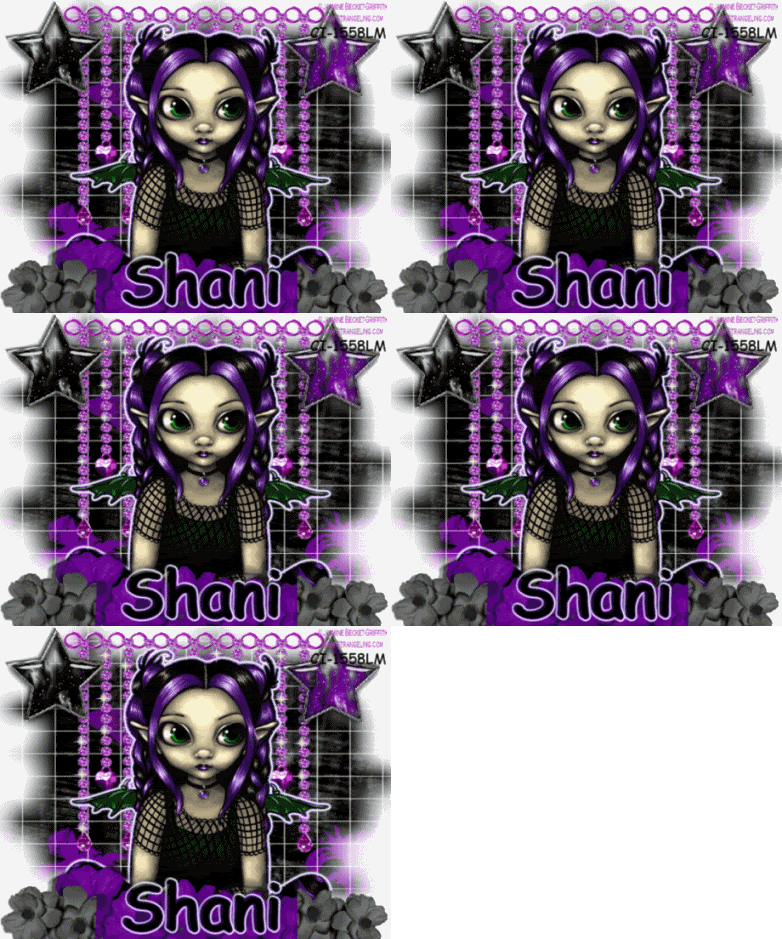
Purple Haze..

Photobucket

SUPPLIES: Font, Tube, And the mask you can find HERE at WSL_Mask84 by Weescottlass....Ptu scrap kit by Wicked Princess called "Gothess" HERE..

Open up a 550x550 image background white, copy and paste one of the papers from the scrapkit..go to mask selections load to mask and find the mask 84 hit o.k.
Next open up the purple hanging jewel paste as a new layer.Now look for the purple and black stars.. paste them as new layers.... add a nice dropshadow to them...
Next find your purple flowers and paste them in the front, look at my tag for reference..Now open up the black flowers and paste them as new layer in the front of the tag. Add a nice dropshadow....
Now find a tube copy and paste it as new layer...put a nice dropshadow and place in just beneath the flowers tubes....Add now your font and any copyrights...thats it your done... The blinking stars I could not supply, I dont know who made them..

Saturday, December 12, 2009

Pink Candy Ice .....

Photobucket

Supplies::Font, Tube and a wonderful Ptu kit called ....Cotton Candy Christmas scrapkit by Michelles Angels HERE..
The snow animation you can download HERE
And the mask you can find Here at WSL_Mask84 by Weescottlass

Open up your scrapkit, and tube and a pink scrap paper from the scrapkit..Minimize
Open up new image 550x550 background transparent..
Next take your pink background paper from the kit and paste as a new layer..
Next load selections Mask 84 ...
Open up your 2 Christmas tree tubes and copy and paste them as new layer...
Put a small dropshadow on them.
Next open up your pink ball with ribbon... add a dropshadow, copy paste as new layer... refer to my tag for positioning.
Open up your pink Christmas ball resize to 60.. Now duplicate 3-4 times so you have some christmas balls.. Now copy and paste them on your trees...
Next open up your tube and paste as a new layer, add a dropshadow.
Now for the animation..
............Animation ...........
In paint Shop Pro go up to edit merge all, copy open up your animation shop and paste as new image.
Open your snow animation in animation shop.. Now see it has 21 frames.. so duplicate your tag 21 times....
Now click on the first frame of the animated snow.. Go up to select all copy ..
Click on your first frame in your tag... Go up to edit select all, copy paste into frame ...

Friday, December 11, 2009

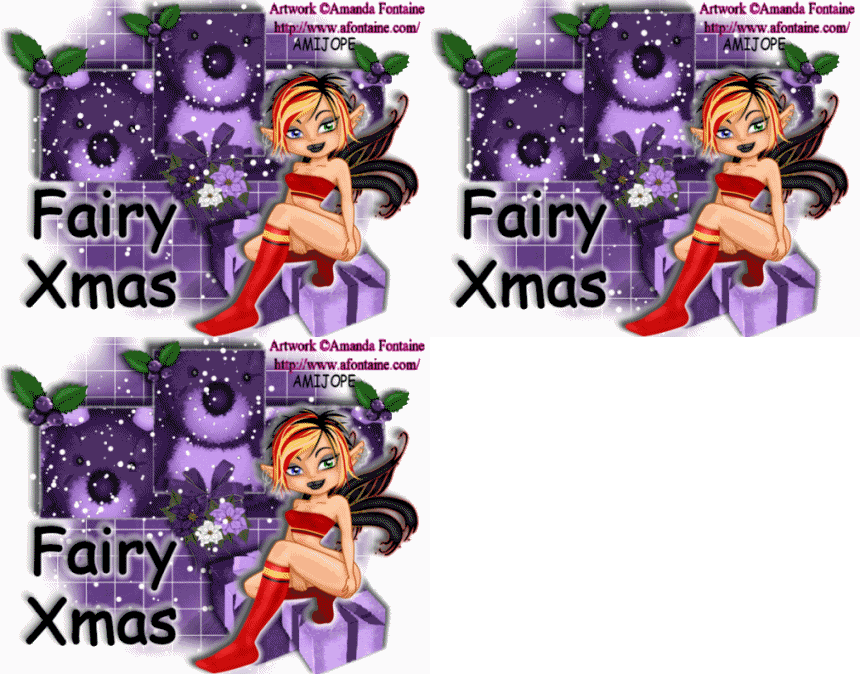
Fairy Xmas.....:0)

Photobucket

Supplies...Font,tube a wonderful Ftu scrapkit by Scraps by Randy Sin HERE and Mask WSL_Mask84 by Weescottlass HERE and Vanderlee Plugin..

Ok here we go Open new image 550x550 bacground color white..
Next open Rs paper 8 from your scrapk it as new layer.
Apply the mask, merge group..
Open Rs frame 2, paste as new layer.
Now click in each of the frames with your magic wand..
Open rs paper 4, paste as new layer.
Selection invert, press delete on keyboard, apply Vander lee snowflakes.
Selections,selections none..
you still with me??lol o.k. now with your majic wand click inside the middle frame
open your little teddy bear from the scrap kit and pasted as a new layer..
Selections selections all delete....
now with your majic wand click inside the left frame
open your little teddy bear from the scrap kit and pasted as a new layer..
Selections selections all delete....
now with your majic wand click inside the right frame
open your little teddy bear from the scrap kit and pasted as a new layer..
Selections selections all delete....Now go to your background layer X it out...Go up to your top pallette, click on it o.k. now hit merge,merge visible..
Add a nice dropshadow to the frame..
Now open up your tube paste as new layer..
Open up the little holly, and place to your liking.. Refer to my tag..:)
Now add your font and copyrights...
Now for the..........ANIMATION......
Open up animation shop..
Back in psp click on your frames layer, go to vanderlee plugin snow, hit o.k.
Highlight fram layer selections select all
selections float selections defloat.
Effects Van Der Lee snowflakes setting...
35..0..20..90..0..Basic snow.. random seed 30.
Selections select none edit copy merged
paste in animation shop as new image.
Back to psp edit undo back to undo snow
repeat above twice more change random seed by 10 each layer.

Thursday, December 10, 2009

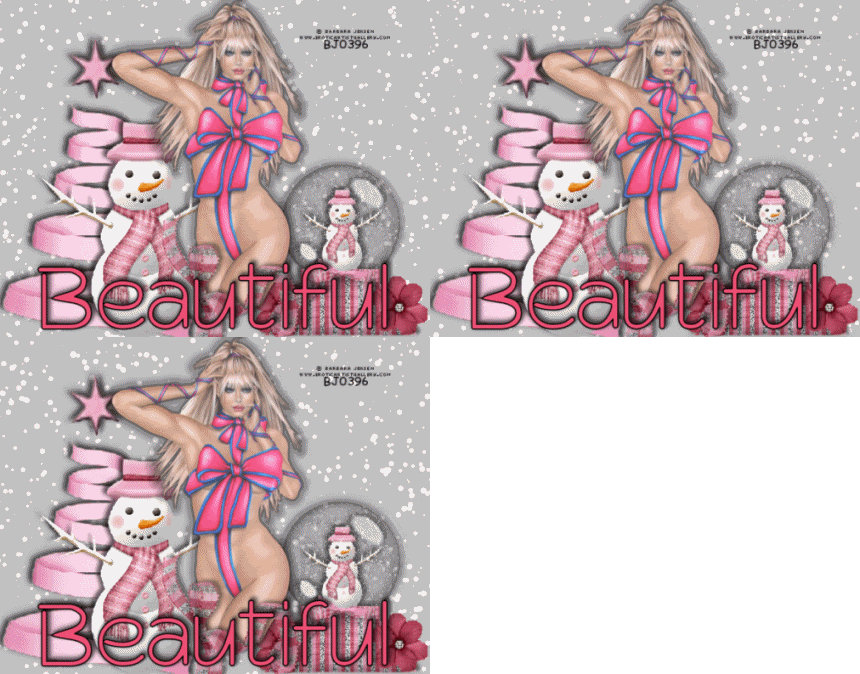
Wrapped All Around...

Photobucket

Supplies: Tube, font and Ftu scrap kit by Lacarolita called Pink Ice HERE....Plugin Vanderlee snow...

Open a 550x550 image
Copy and past the pink christmas tree from your scrapkit ..
Next open your snowman tube and past as new layer, put it a little in front of the pink Christmas tree..
Now open the little snowman snow globe and paste as new layer. Refer to my tag for positioning.
Next open up the little pink diamond flower and copy and paste as a new layer to the right of the snowglobe.
Now open up your tube and copy and paste as a new layer..
Add your font and watermarks at this time..
If you want to add a little effect to the tag, add dropshadows to them..Refer to my tag above.
Now for the ANIMATION:::::
Highlight snow layer selections select all
selections float selections defloat.
Effects Van Der Lee snowflakes setting...
35..0..20..90..0..Basic snow.. random seed 30.
Selections select none edit copy merged
paste in animation shop as new image.
Back to psp edit undo back to undo snow
repeat above twice more change random seed by 10 each layer.
View animation resize crop then save.

"""A Very Jensen Christmas"""" :)


SUPPLIES:: A tube of your Choice, and a beautiful Ftu scrap called Feliz Natal by Bel Vidotti HERE...

Open an new image 550x550
I made my backgroud a light grey, but you can make it any color you would like.:O)
Next open up your Feliz Natal scrap kit...Open up the little snow house paste as new layer. paste it on the right side of your tag.. Add a small dropshadow.
Next open up the cute Xmas tree copy and paste as new layer, paste it on your left side of your tag.
Next open up your presents tube and copy and place them under the tree.. Add a small dropshadow to these..
Now go find the little stuff pink hippo....lol.. to cute. Copy and paste as a new layer.... Paste it just below your presents.
Next open up your pink fence tube... Resizeit smaller I resized mine to %85..
copy and paste it in front of the snow house on your tag...
Now find the little snowman holding the star tube... Copy and paste him on top of the little tree... Also resize him smaller. Mine again was %85,..
Now open up the little Holly Berries resize them smaller, and copy and paste them on the pink fence in front of your house..
Last but not least. open up the little evergreen tube with the bell on it.
Resize it smaller once again.. Copy and paste it on top of the snow house on your tag.
Add your tube , text, and and copyrights, and you are done!!! :0)

Tuesday, December 8, 2009

Pictures Of Lix......


Supplies: A tube of choice, eyecandy 4000, and an awesome Ftu scrapkit called State of Punk by
scrap dimensions here

Open a 600x600 new image, background color white
Next open up the pink stars background and paste as new layer,duplicate this layer and arrange it to where you want...Refer to my tag..Go to eyecandy 3000 go up to corona, then hit o.k.
Next open the picture frame with bow. Copy and paste as new layer.Add a dropshadow to it..
Now take your majik wand and click inside one of the frames.Selections expand by 4.
Pick a tube or image and paste as new layer in the frame box.Selections,invert hit delete on your keyboard.Selections none.
Next go to the middle and last frame, and do exactly as you did with frame numbers 1 square..
Add your tube next , put it on top of the frame, add a dropshadow to it.
Next add your text and copyright layers, and you are all done.

Friday, December 4, 2009

Wanna Play!!!


Open up the Missy template.....Copy and past it onto a new canvas... Make your background white.
Next add dropshadows to your template..... Now pick a tube of choice... Mine is of Ismarel Rac, so I can't supply it... Now add your text.. Add any finishing touches you would like... Remember to add your water mark.. Thats it simple tutorial...:)

Link for Missy Template
http://www.4shared.com/file/165783324/5f145e26/missy_tagtemplate271.html

Tuesday, November 24, 2009

New Tutorials!!! :)

Hi everyone, this is my first tutorial site... hehehe.... I finally got around to doing one... I will have more tutorials as time goes on.... I hope you enjoy them.... :)